Highlight & Contour
dark colors absorb light,
light colors reflect light
the goal is a balanced face, bringing out the features they love the most!
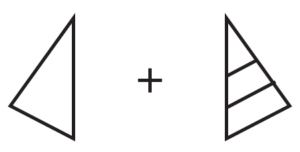
High
light

When applying highlight, start from the inner part of the face and work out. Apply your shades to the bridge of the nose, beneath your eyes, down the side of the nose in a pie piece shape, between your brows, on the chin, and along the jawline. A good technique is to stipple on and then blend. A little goes a long way! Be sure to keep the under eyes bright! 🌟
Con-tour
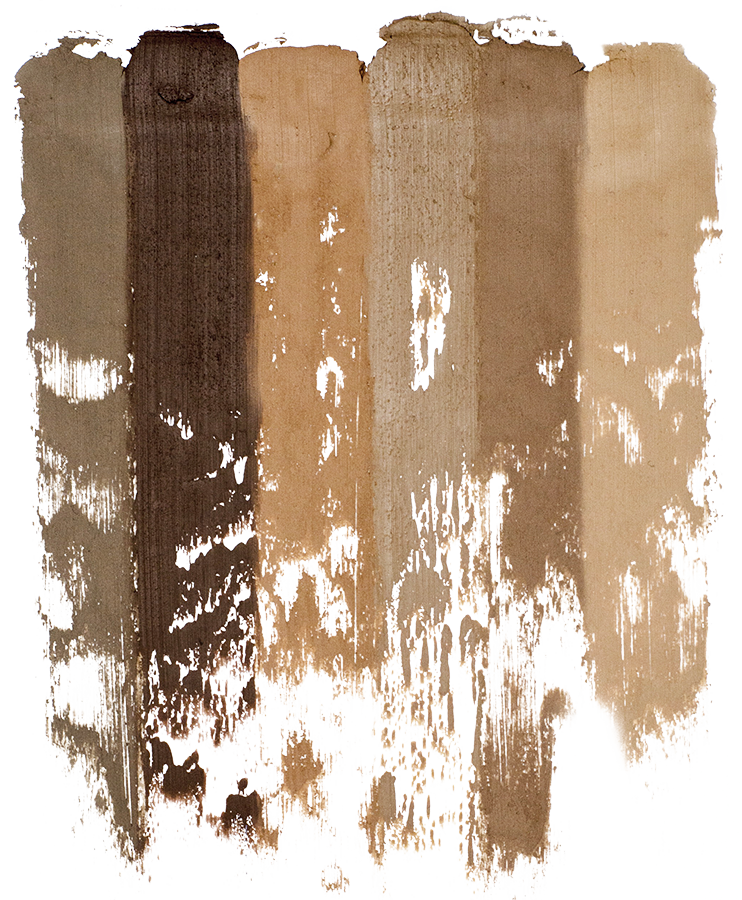
When applying contour, start where the contour should be darkest and work down. Apply the contour color round the edges of your face, down the neck, the side of your nose and beneath your cheekbones. For correct placement, use your fingers to find where their cheekbone is most prominent and place the contour directly beneath that where a natural shadow would start.
The
Basic
HAC
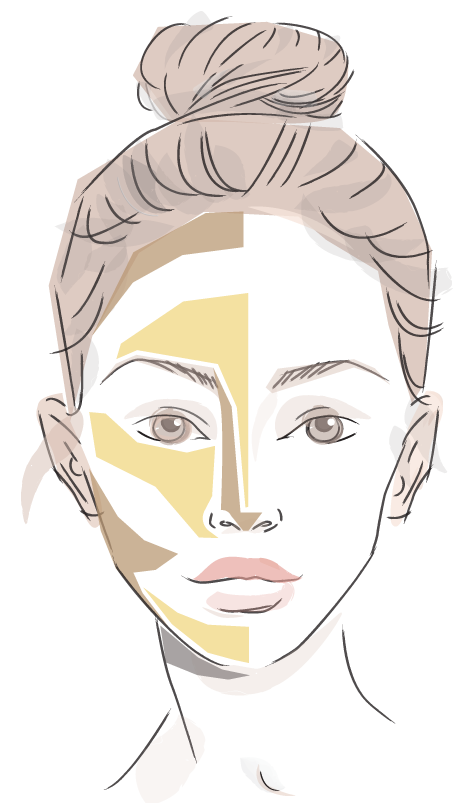
The Basic Hac
HAC for thin faces
HAC for full faces
Thin Face
- Use Detail Brush
- Keep your contour lines horizontal
- You will use more highlight than contour
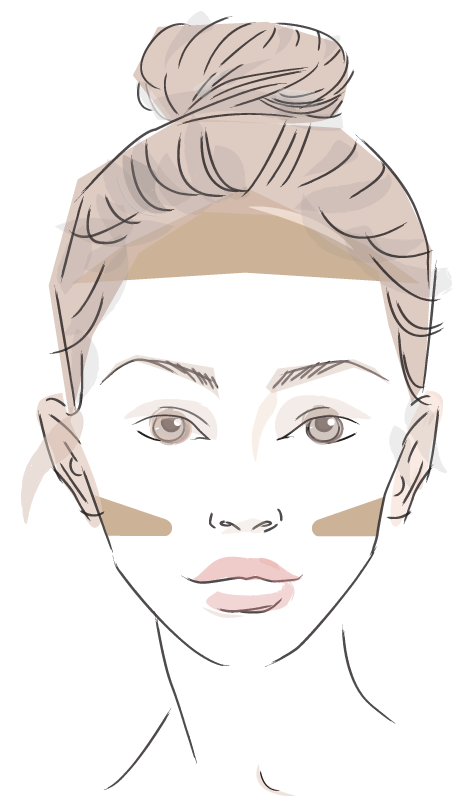
Full Face
- Use IIID Brush
- Keep contour lines angled
- Can be more generous with contour
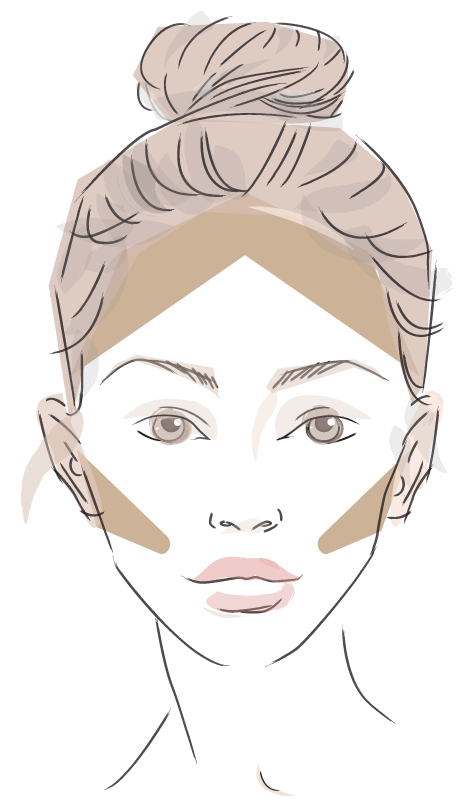
Contour Don’ts
places to avoid contour
- Between eyebrows and lower forehead
- nostrils
- Trapeze smile lines
- Below the smile line (jowls)
- Middle of the neck (adam’s apple and below)
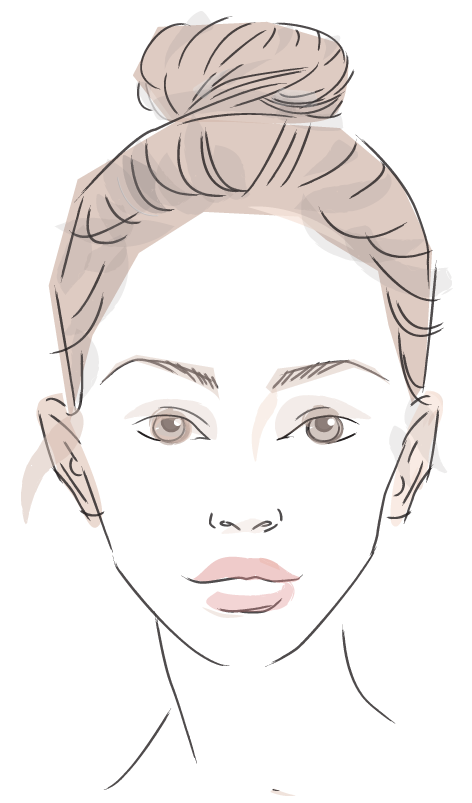
Cheek Contour
Fuller Cheeks
For fuller cheeks, start the contour right underneath the most prominent part of the cheek bone and make a “nike swoosh” towards the nose.
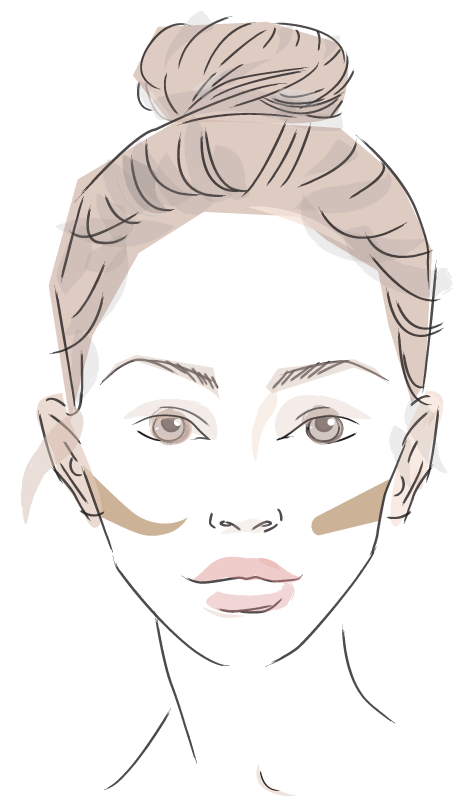
Chiseled Look
For a more chiseled look, keep your contour lines straight and defined. Start right underneath the most prominent part of the cheek bone and make a straight line, be sure to stay above “contour don’t” areas!
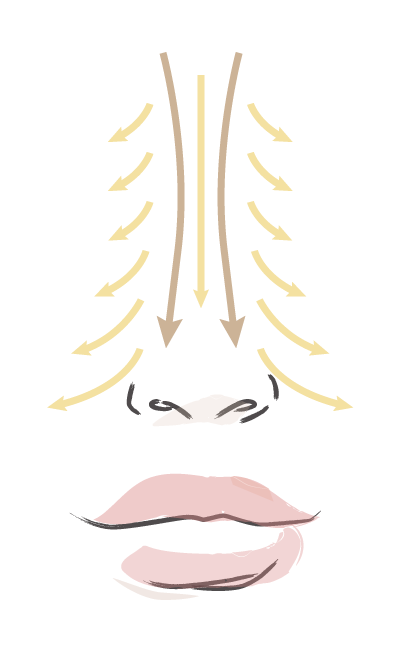
Nose Contour
- approach the contour straight on with your brush, rather than from the side.
- turn to the side, your nose should not appear dirty from the side and it should just appear as a subtle shadow
- keep your contour lines thin and close together
- apply a thin line of highlight with your finger to the bridge of the nose
EXCEPTIONS TO THE RULES
*very full faces can contour all the way down to the jaw bone
*very thin noses don’t need to be contoured
TROUBLESHOOTING
Oily Skin
-
Milk Moisturizer
-
Stay Spray – before + after application
-
Pressed Setting Powder
-
Loose Setting Powder
-
Dry Shampoo
Mature Skin
-
This is a great video to link your mature customers to! I speak directly to them, simply as possible and address all those things that relate specifically to an older client including:
jowls, smile lines, dark circles, undereyebags
Homework:
Send a message to your Mentor telling her one new thing you learned about highlight and contour to show you completed lesson 6.
